Please download and install 7thShare Android Data Recovery on your computer at first.

Double click the installation package to install the best Android Data Recovery on your computer. After that, click the app icon to run it.
Run this Android Data Recovery software, you will get the interface as below. Please use a USB cable to connect Android device to the computer.
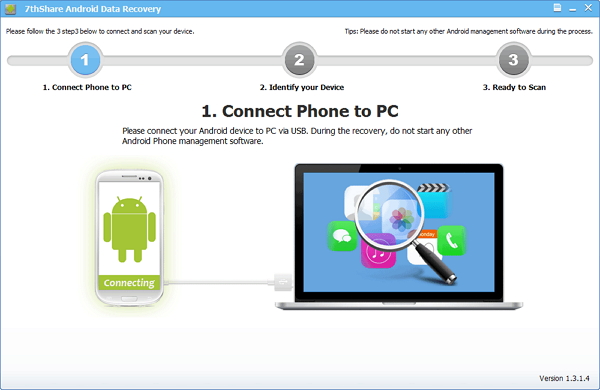
Tip: Run this Android Data Recovery software, you will get the interface as below. Please use a USB cable to connect Android device to the computer.
If you didn't enable USB debugging on your device, you will see the interface below. Follow the detailed guide in the window to set it now.
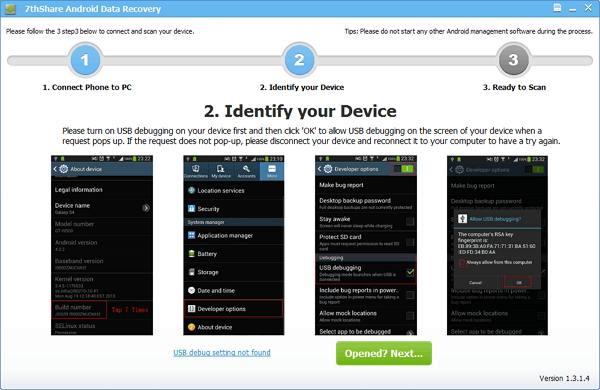
For Android 2.3 or earlier: Navigate to "Settings" > Click "Applications" > Click "Development" > Check "USB debugging".
For Android 4.0 and 4.1: Navigate to "Settings" > Click "Developer options" > Check "USB debugging".
For Android 4.2 or later: Navigate to "Settings" > Click "About Phone" > Tap "Build number" for several times until getting a pop-up note "You are under developer mode" > Back to "Settings" > Access to "Developer options" > Check "USB debugging".
Tip: If you have enabled USB debugging on the Android device before, you can skip this step.
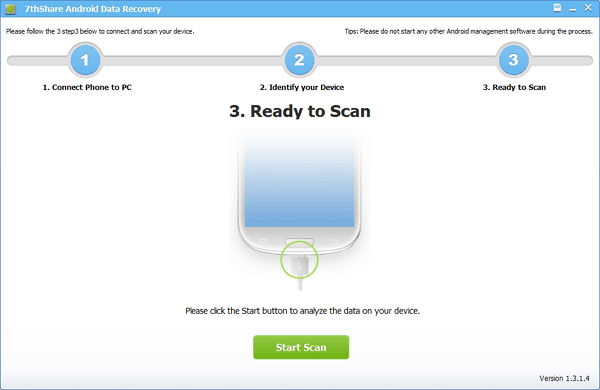
After enabled USB debugging on your device, click "Opened? Next...". The program will automatically identify your device. Then click "Start" to scan data on it.
Note: If the program is unable to identify your device after you enabled USB debugging, please connect your device to the computer again and check it. You'll get a pop-up message on your device's screen. Just click "OK" to allow USB debugging.
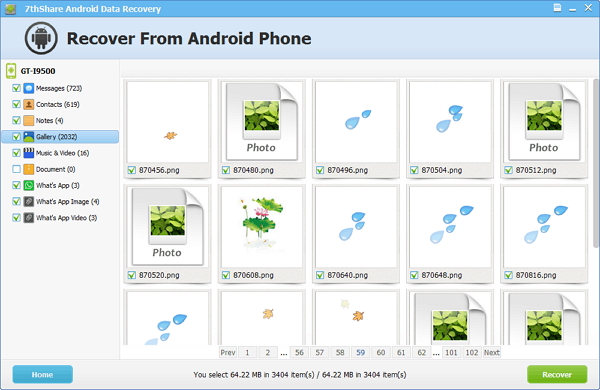
After scan, all contacts, messages, photos, videos and documents found will be listed by category. You can preview them in details. Then mark those you want and click "Recover" to save them on your computer.